Home > Jada + David > Addicted Art Gallery > Serving
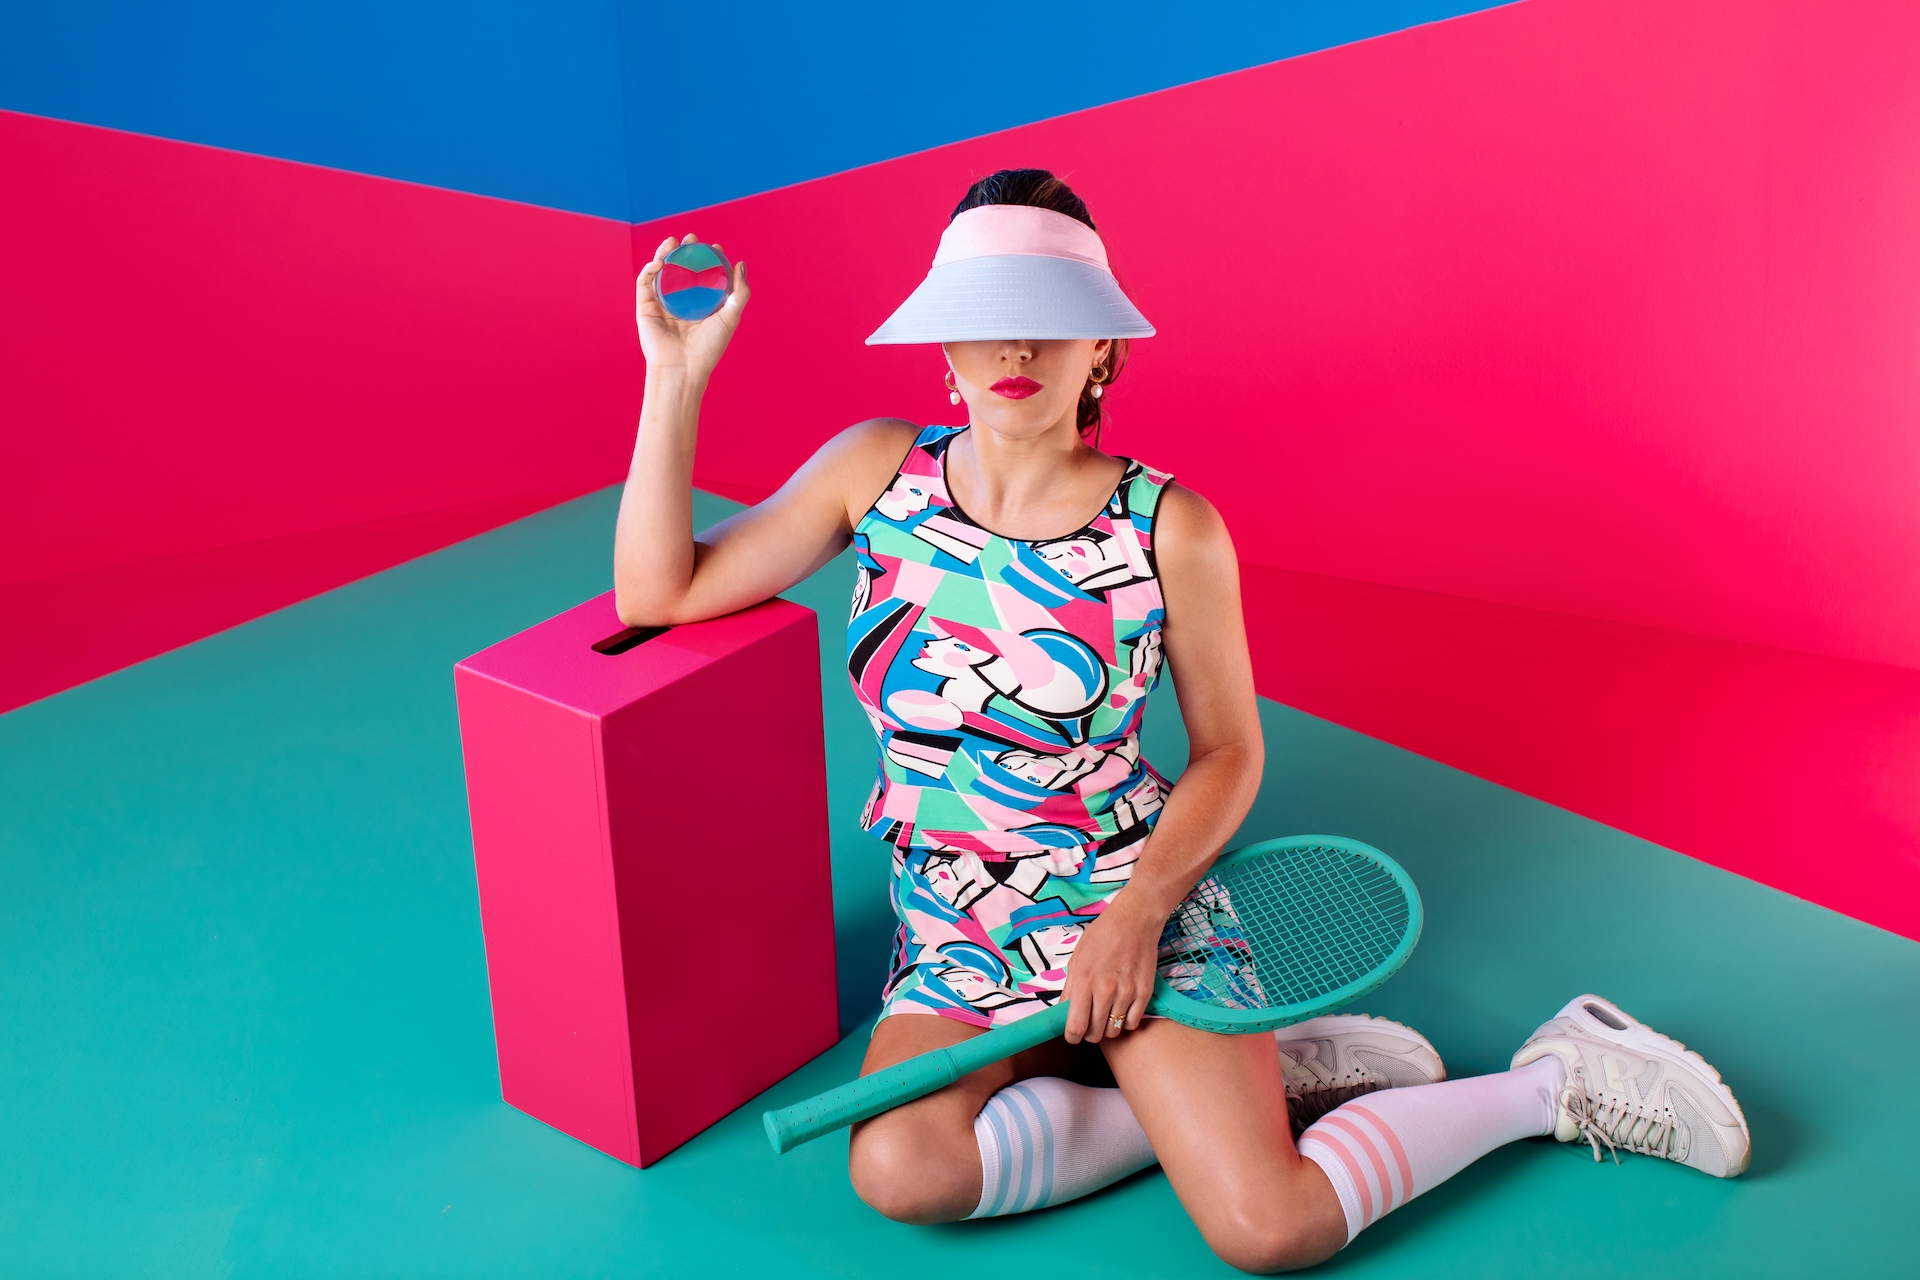
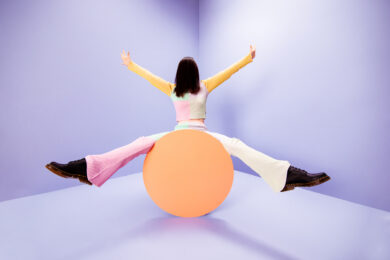
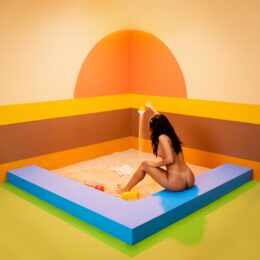
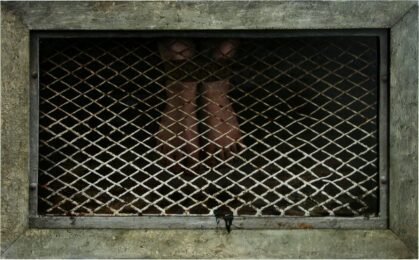
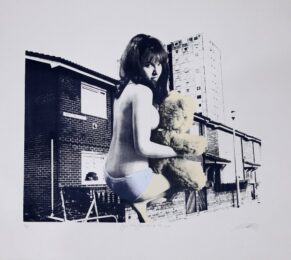
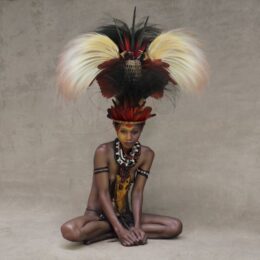
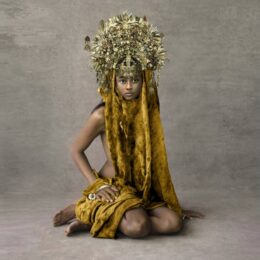
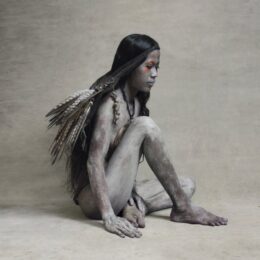
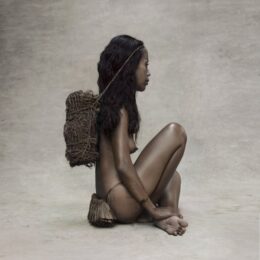
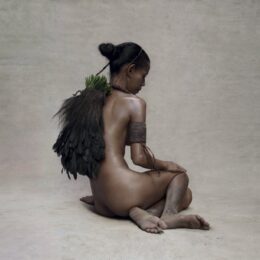
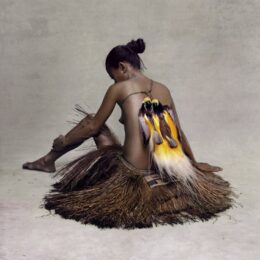
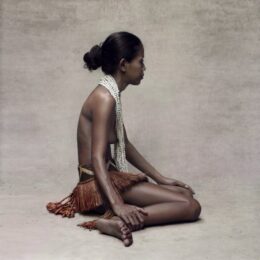
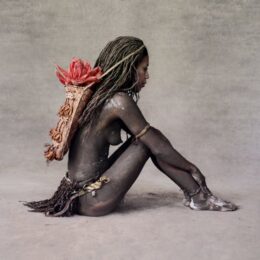
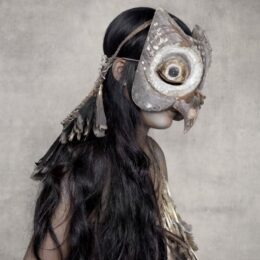
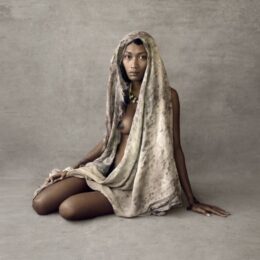
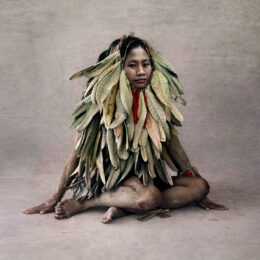
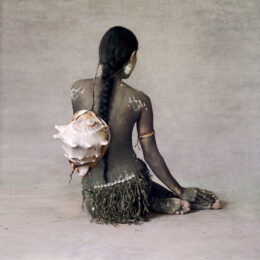
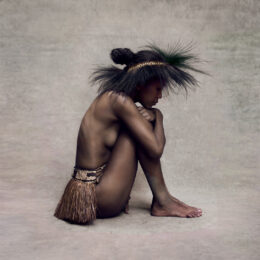
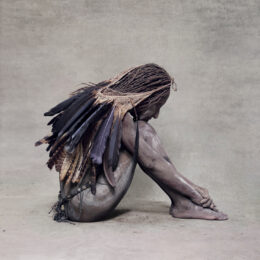
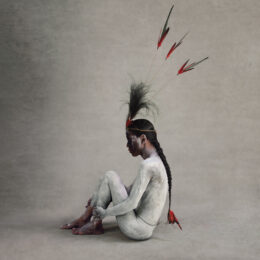
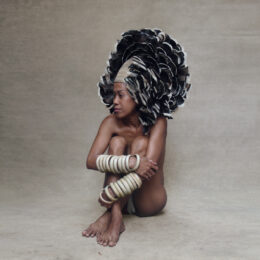
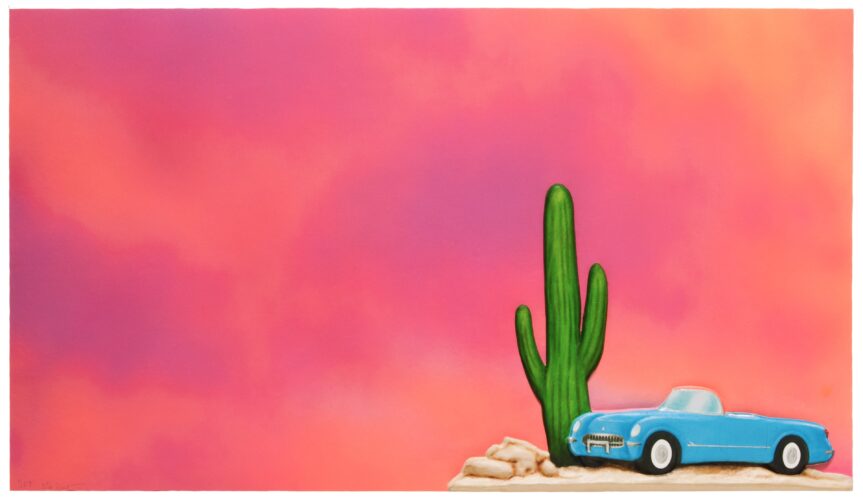
  • Serving by Jada + David

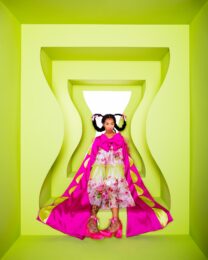
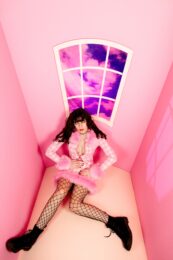
Serving by Jada + David

Addicted Art Gallery

Archival Pigment Print

2020

Edition Size: Refer 'Details' section.

Sheet Size: Refer 'Details' section. Measurements in cm

Signed

Condition: Pristine

Details — Click to read

Medium: Archival pigment print on Hahnemühle Photo Rag paper, signed and numbered by the artist.

Edition:
– Small Format: Edition of 50
– Medium Format: Edition of 25
– Large Format: Edition of 12

Size:
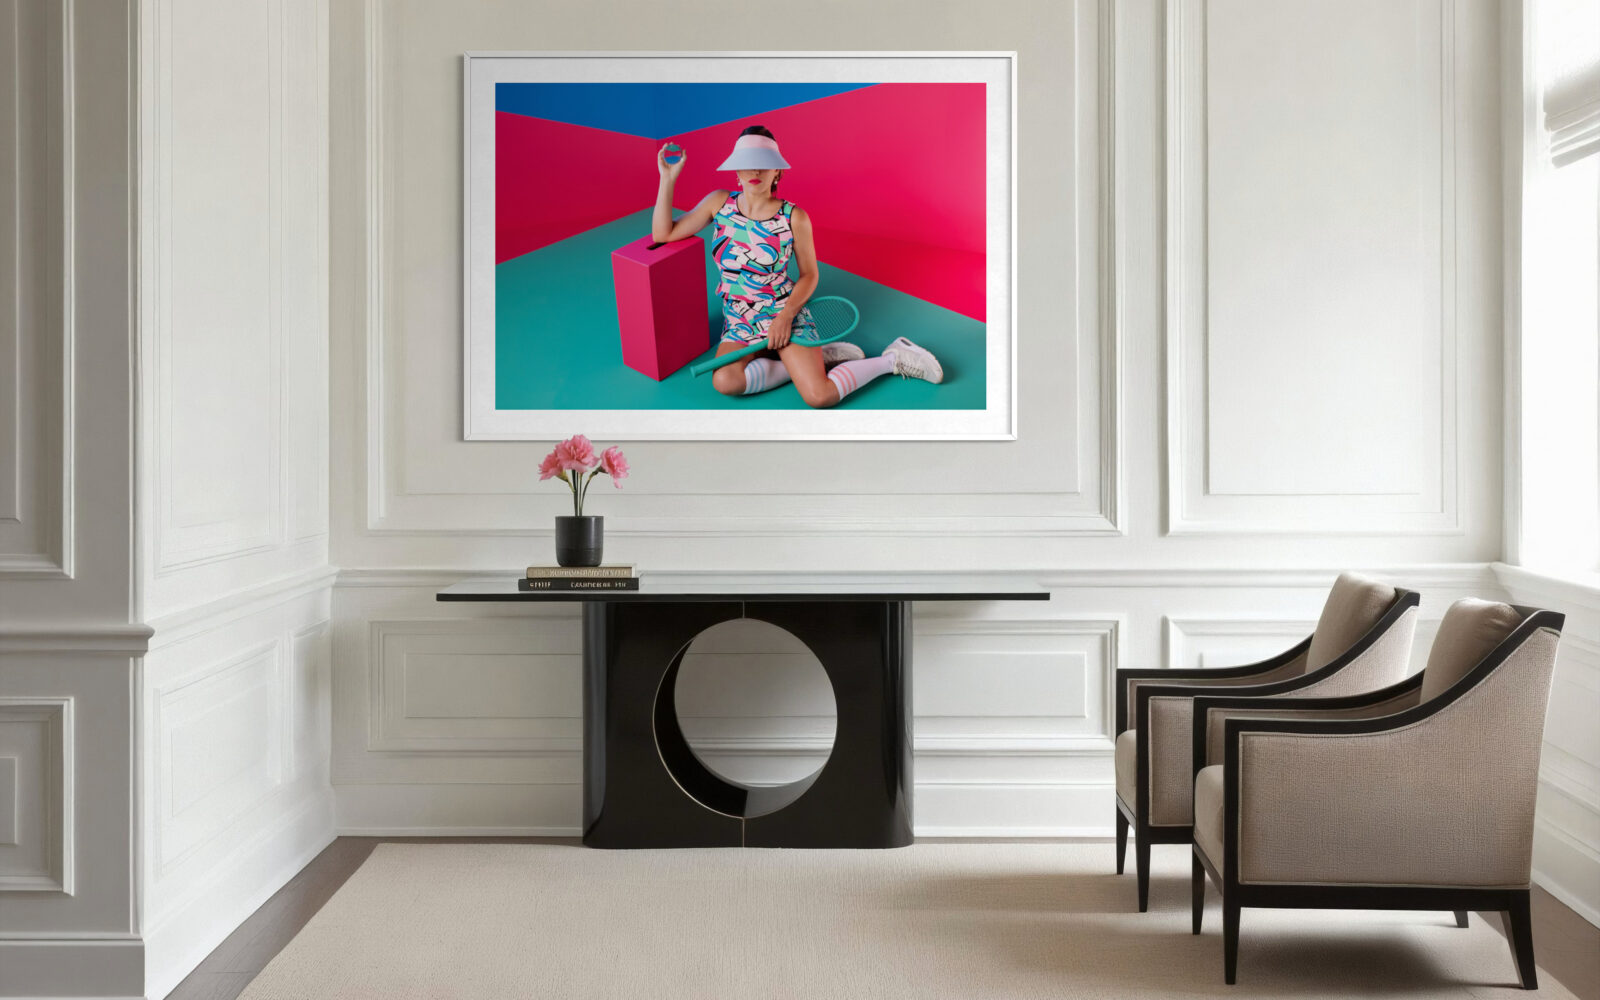
– Small: 40.67cm x 61.0cm
– Medium: 67.7cm x 101.6cm
– Large: 101.6cm x 152.4cm

Good To Know: Printed to order with 5.0cm white border, shipped direct from the artist’s studio, accompanied by a CoA (Certificate of Authenticity) issued by the artists.

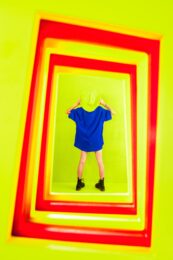
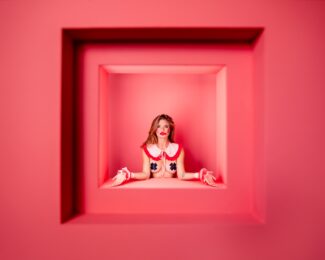
Series: Surreal Spaces

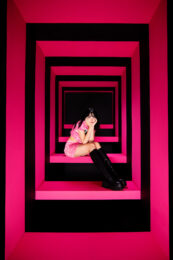
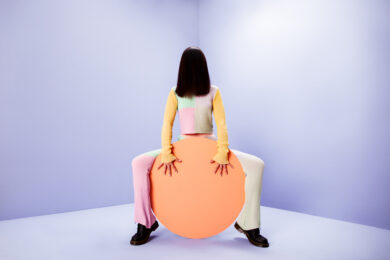
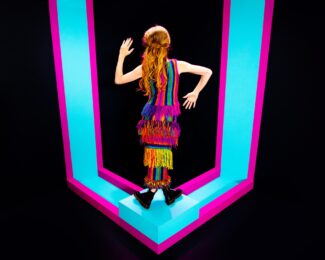
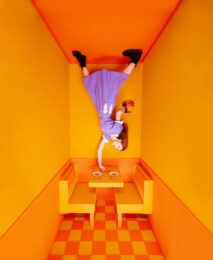
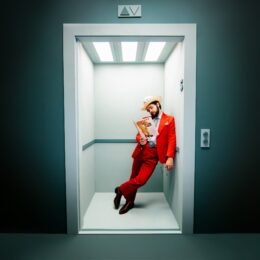
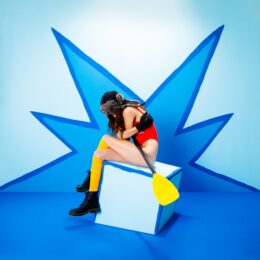
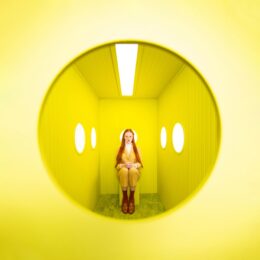
Arty-Fact: “We know the world is changing. AI and digital tools are evolving quickly. But just remember: there are so many ways to create. You can paint the same image using oil, acrylic, spray paint, watercolor, or pixels – and each version will feel completely different. The same is true with photography. Yes, you can do a lot in post. Yes, you can use AI. But the magic of our work comes from physically building environments and inviting people to interact with them.

When someone steps into one of our sets, it changes their posture. It affects their expression. It shapes the energy of the final photo in ways that no digital replacement ever could. The texture, the light, the space – all of that becomes part of the storytelling. That’s what excites us. That’s what makes it feel alive.” ~ Jada + David

Price:
– Small: USD $1,500
– Medium: USD $3,000
– Large: USD $5,500

Prices: Exclude shipping and applicable import duties / charges. Please contact our gallery to obtain a shipping quote.

$1,500.00

Click to buy today
The Artist

Jada + David

Jada + David Parrish don't just take photographs. They build them.

Read more

Uncover more Jada + David at Addicted Art Gallery

See More

Don’t miss out on other artworks at Addicted Art Gallery

View Gallery